If you’re searching for ways to fine-tune your aim assist precision settings, you’re likely trying to gain a real competitive edge—not just tweak sliders at random. Whether you’re grinding ranked matches or sharpening your fundamentals, dialing in the right configuration can mean the difference between tracking flawlessly and constantly overcorrecting.
This article is built to help you understand how aim assist actually interacts with sensitivity, deadzones, and response curves, so you can make adjustments with purpose. Instead of generic advice, we break down how different precision settings affect close-range fights, mid-range tracking, and long-range recoil control across modern multiplayer titles.
Our insights are grounded in hands-on gameplay analysis, controller performance testing, and close study of competitive trends in esports and high-level ranked play. By the end, you’ll know exactly how to optimize your setup for consistency, accuracy, and smoother target acquisition—without sacrificing control or speed.
The Foundation: Understanding Core Aim Assist Mechanics
At its core, aim assist is built on two systems working together:
- Target Slowdown: an invisible “bubble” around an enemy that reduces your stick sensitivity as your crosshair enters it. This friction effect helps prevent over-aiming (that wild swipe past the head we’ve all done).
- Rotational Aim Assist: a subtle automatic camera adjustment that follows a moving target when you’re strafing or tracking.
In theory, that sounds simple. In practice? It’s messy. Some players argue rotational assist does most of the work. Others insist slowdown is the real MVP. The truth likely depends on the game—and I’ll admit the exact weighting isn’t always publicly documented.
Different shooters tune these mechanics differently. Call of Duty is known for strong rotational tracking, while Apex Legends applies a weaker, more situational pull (Respawn has publicly discussed platform-based tuning differences). That’s why copying someone’s aim assist precision settings rarely feels identical across titles.
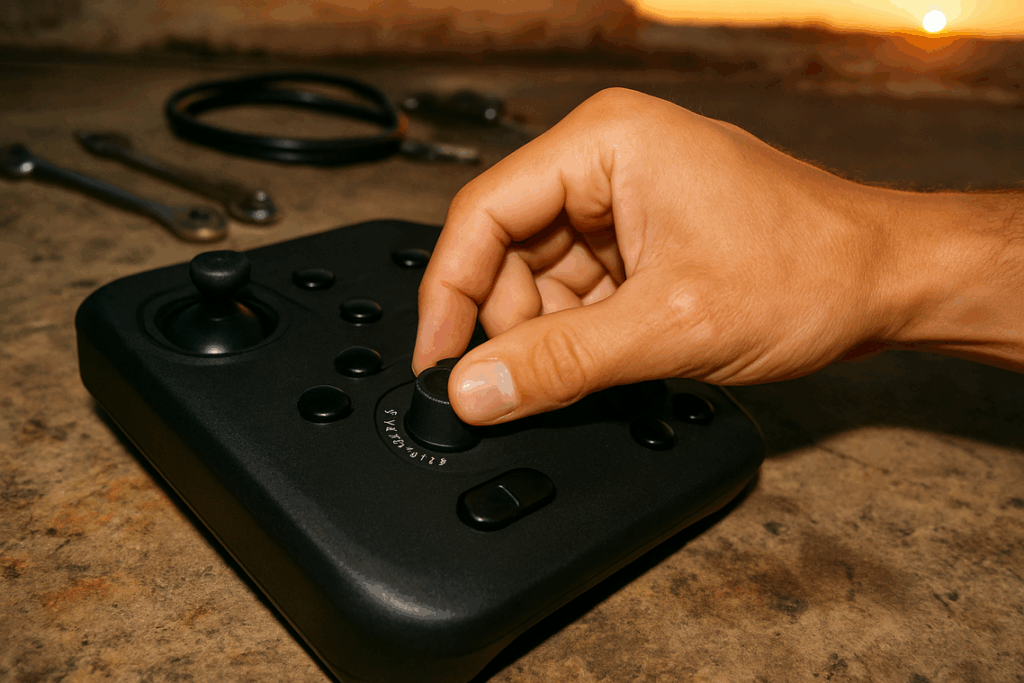
Hardware matters, too. Higher stick tension can make slowdown feel heavier. Polling rate—the speed your controller sends inputs—can subtly affect responsiveness.
Start simple:
- Reset to default aim assist settings.
- Play several matches.
- Adjust one variable at a time.
Some claim defaults are “bad.” I’m not convinced. They’re usually balanced baselines—before personal preference complicates things.
Step 1: Calibrating Deadzones for Instant Response
What Is a Deadzone?
A deadzone is the small area of your analog stick that doesn’t register movement. It exists to prevent stick drift—that annoying phenomenon where your character moves or your camera pans without you touching the controller (yes, it’s as frustrating as it sounds).
The Precision Killer
Here’s the problem: most default deadzones are set too high. A large deadzone creates a subtle “lag” between moving your thumb and seeing your crosshair react. It’s not input delay in the technical sense—it’s unregistered input. In fast shooters, that tiny gap can cost fights (and pride).
The Calibration Process
Use this step-by-step method to find your optimal setting:
- Lower your deadzone by 0.01 increments.
- Test in a practice range or menu screen.
- Stop when you notice stick drift.
- Raise it back up by 0.01–0.02 until drift disappears.
That’s your lowest stable value. Pro tip: test both slow micro-adjustments and fast flicks before locking it in.
Left vs. Right Stick Deadzones
Your movement stick (left) can tolerate slightly higher deadzones. Your aim stick (right) should be as low as possible for tighter tracking—especially when fine-tuning aim assist precision settings. Different jobs, different tolerances. Calibrate them independently for best results.
Step 2: Mastering Sensitivity and Response Curves
Most players obsess over one number: sensitivity. But that’s only half the story.
First, separate general sensitivity (how fast your camera turns while moving) from ADS sensitivity—Aim Down Sights sensitivity, or how quickly your aim moves while zoomed in. Think of general sensitivity as steering your car, and ADS as fine-tuning the wheel while parking. Same vehicle, very different control demands.
Some argue you should keep both identical for consistency. In theory, that builds muscle memory. In practice, zoomed engagements require smaller, more precise corrections. Treating them the same often leads to overcorrection (and missed headshots).
Finding Your ADS Sweet Spot
Here’s a drill competitors rarely formalize: the target-switching drill. In a practice range, aim at three fixed targets spaced apart. Snap from Target A to B, then B to C, focusing on stopping exactly on center mass. If you consistently overshoot, lower ADS. If you lag behind, increase it slightly. Adjust in increments of 0.05–0.10.
Pro tip: test with aim assist precision settings enabled to see how slowdown interacts with your micro-adjustments.
Introduction to Response Curves
Response curves determine how your stick input translates to movement.
- Standard Curve: Balanced acceleration. Ideal for beginners who want predictability.
- Linear Curve: True 1-to-1 input. No hidden acceleration. It rewards disciplined muscle memory—but expect a steep learning curve.
- Dynamic Curve: An S-shaped curve. Small stick movements stay precise, then ramp quickly for sharp turns. Perfect for aggressive playstyles.
Many guides stop at definitions. However, your curve choice should match engagement distance and tempo—not trends. For deeper calibration strategies, see how to optimize controller sensitivity for competitive gaming.
Advanced Tuning: Per-Optic Sensitivity and Assist Windows
Have you ever wondered why your aim feels snappy on a 1x Red Dot but sluggish on a 4x scope? That’s where per-optic ADS (Aim Down Sights) sensitivity multipliers come in. In simple terms, ADS sensitivity controls how fast your crosshair moves while aiming. By customizing it for each magnification level, you create granular control—fine-tuned adjustments that match your playstyle.
The real goal, however, is consistency. Even though higher magnification zooms in, your aim should feel equally responsive. Competitive players often tweak values so a 1x and 4x feel proportionally similar (think muscle memory, not math equations). Sound familiar?
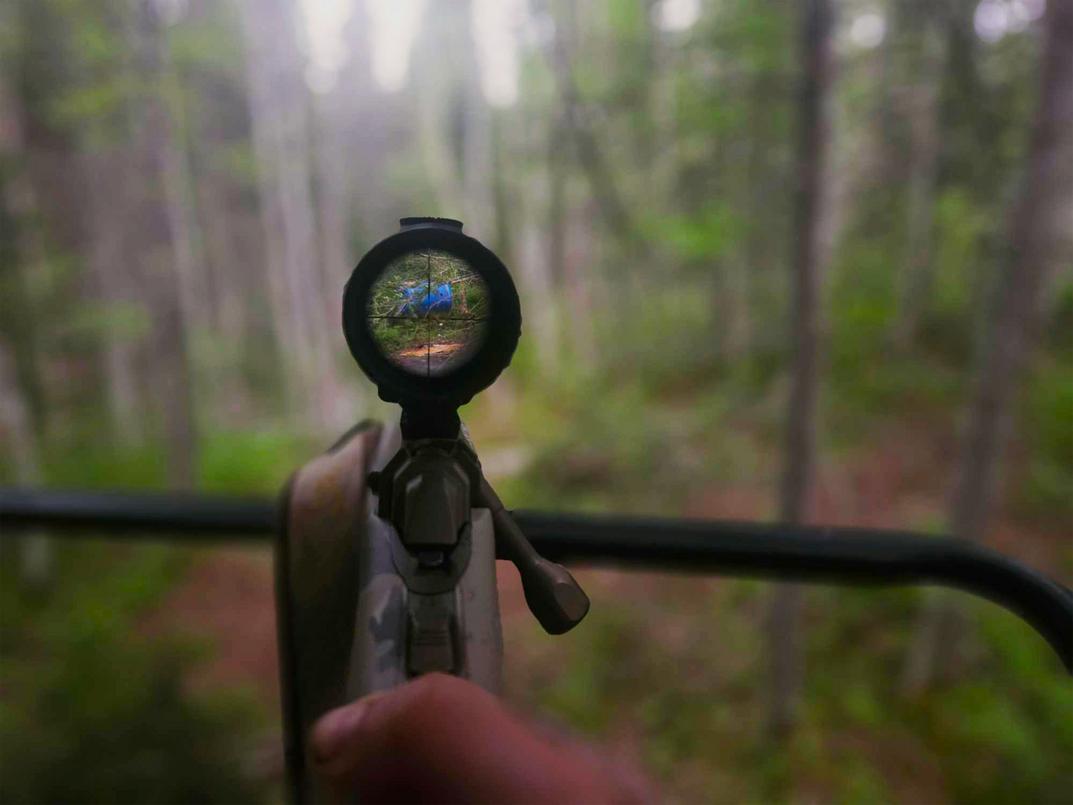
Then there’s the assist window—the invisible “bubble” where aim assist activates. With aim assist precision settings, shrinking that window rewards cleaner initial crosshair placement. It’s riskier, yes—but tighter inputs mean higher skill expression (like switching from training wheels to a road bike).
So ask yourself: are you letting defaults decide your ceiling?
Mastering Aim Assist for Competitive Play
You came here to understand how to fine-tune your aim assist for better accuracy, tighter tracking, and more consistent wins. Now you know how small adjustments to sensitivity, response curves, and aim assist precision settings can dramatically change your performance in gunfights.
If you’ve been struggling with over-aiming, inconsistent tracking, or losing close-range duels you should be winning, the issue likely isn’t your reflexes — it’s your configuration. Dialing in the right settings removes friction between your intent and your execution, giving you smoother control and more reliable shots under pressure.
The next step is simple: apply these optimizations in your next session, test them in real match scenarios, and refine based on how your aim feels in high-intensity moments. Don’t leave your performance to default settings.
Serious players optimize. Competitive players adapt. If you want sharper tracking, cleaner flicks, and more confident engagements, start refining your aim assist precision settings today and take control of every fight.